
The Anatomy of Sourdough {that gets ya Bread}!

Crusty warm sourdough bread that you can bake yourself
Author: ArtsyChowRoamer
The Anatomy of Sourdough
LET’S MAKE BREAD
So you wanna bake bread but your afraid! 😲 Furthermore, you want it to be sourdough and you got no idea where to start. For example, where does the sour part come in?
Well even if you thought that, I am here to tell you that I gotcha back on this one! I am going to give you the anatomy behind sourdough bread making that will have you creating your own awesome loaves of goodness that will make people say “Hey, you bringing that bread thingy that you make…you know the good stuff?” Let’s get started.
FIRST WE MAKE THE STARTER!
Sourdough requires a starter that grows and ferments in its’ yeasty goodness as it sours to provide that luscious flavor that you are after. You can order a kit for that right here. Now the plus side of that is you get all the stuff and a cute jar that looks like you know what your doin’. I personally like to do things on my own. So if you got a cute jar like this than you can skip buying something and just DIY it. Cool right? 😎

Sourdough bread requires a starter; buy it or DIY it
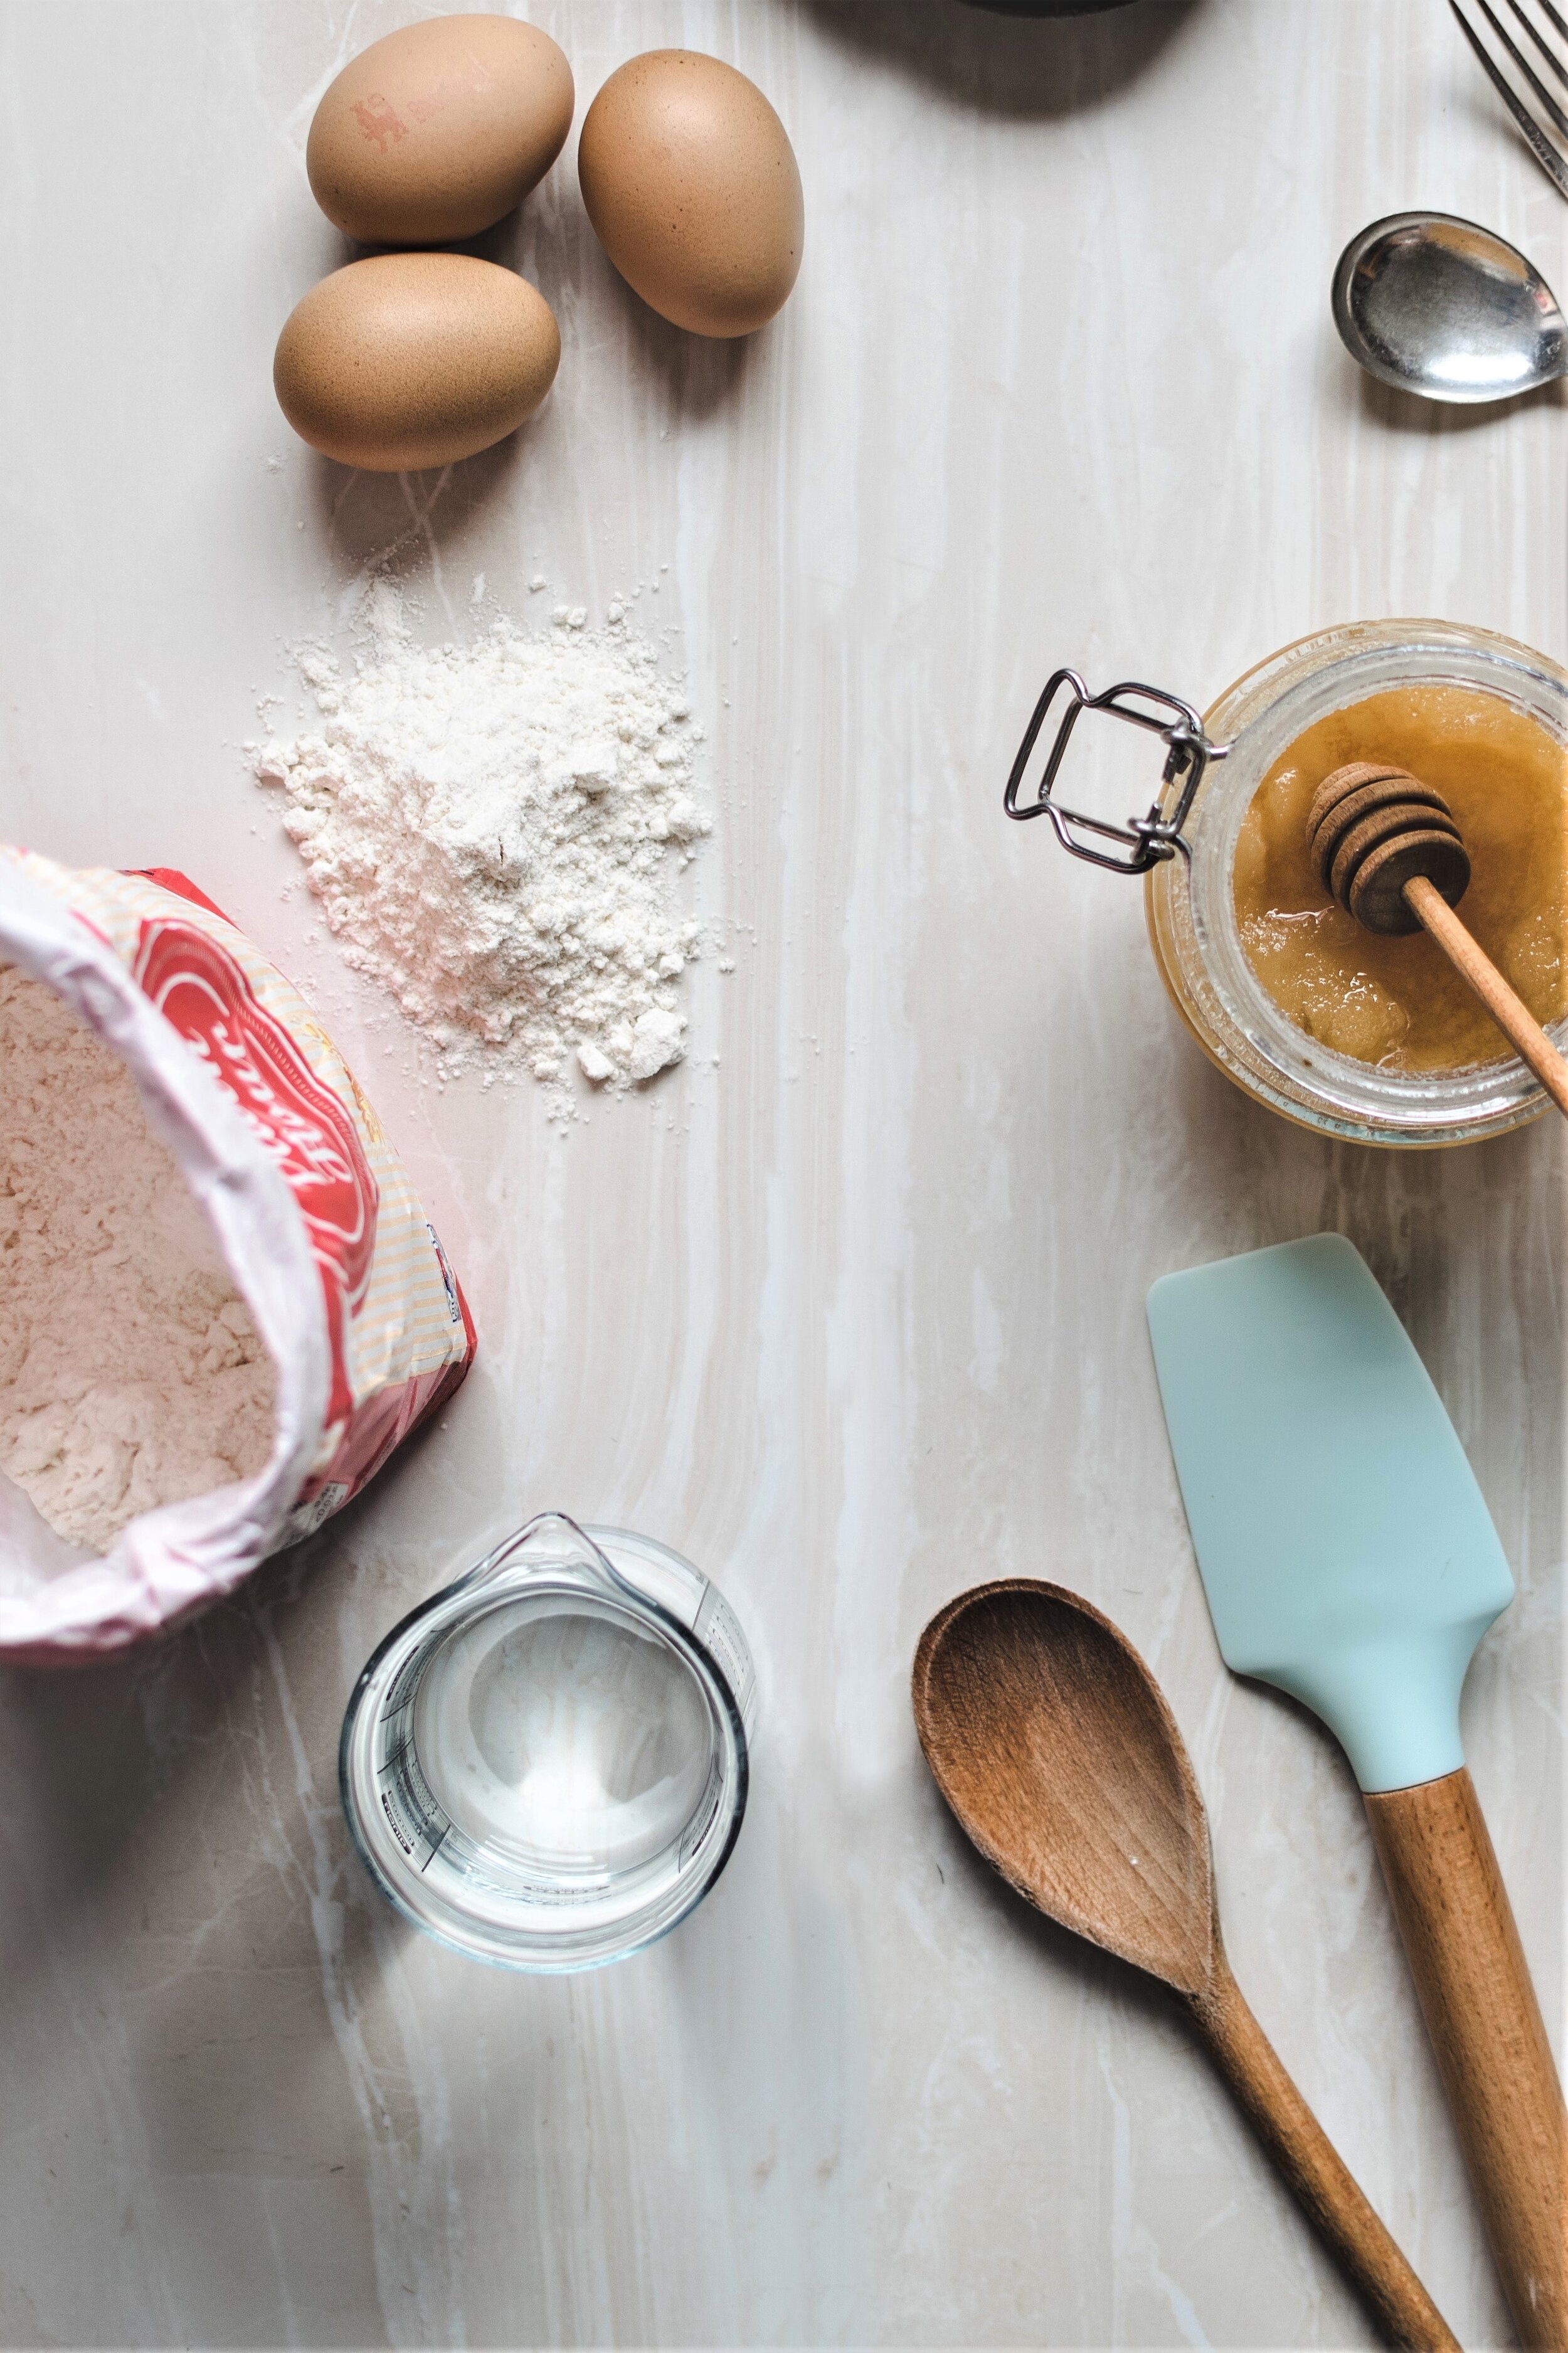
To make the starter yourself, take 2 Cups of warm water, 1 Tablespoon of sugar, 2 Cups of flour and 1 Tablespoon of yeast and beat the ingredients together in a 2 quart bowl. Cover the bowl with a towel (not plastic wrap) and place it in a warm spot.
The mixture should begin to bubble within a few minutes. Initially it should double in size but will settle down as it begins to ferment. Keep it in that nice warm spot for 2-5 days stirring the liquid back into the batter as it separates once a day.
Here is another recipe I found and like that utilizes plain yogurt in the starter. The flavor was delicious and it makes beautiful bread. It also gives you very detailed information about how to feed and how you can freeze a back up as well should you lose your starter for some reason or have a failure.

This is what your starter should look like….bubbly and lovely Photo: Patrick Ryan
When the bubbling diminishes and it has a sour, yeasty smell, it is ready to use! Look at you! You got a starter. 👏👏 Stir the mixture and measure out what you need for your first bread making adventure. It should be the consistency of pancake batter. Here’s a helpful video for you to watch on making starter too!
NOW WE MAKE THE DOUGH!
OK so you have two choices again. You can buy this book which is an artisans way of making bread dough with minimal kneading or you can cheat like me. I have a bread making machine. I use it to do all the kneading and hard work on the dough setting and then remove it and shape it into the size and kind of loaves I want. For this type of bread I usually make rounds.
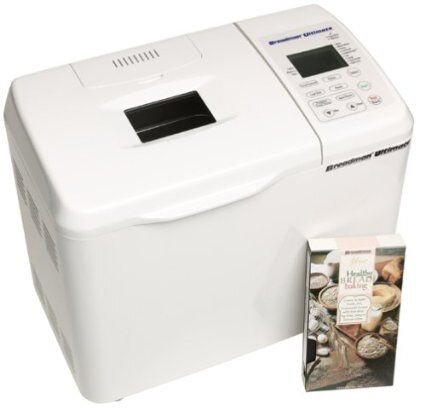
I have tried it both ways and each works beautifully; just depends on how much work you want to do and how much flour you want to sling around your kitchen! Bread baking is an art and cheating is OK…no judgement here. (You can cheat further and use a bread setting and bake the loaf in the machine but I don’t like the shape it makes and the texture is much better from a real oven.)

Just get your hands and flour in there…
THE CHEATER’S WAY!
For the purpose of this blog post I am going to assume you roll like me and are cheating. A bread machine requires that you put the ingredients in the exact order I give them to you cause it’s important in order not to kill your yeast or starter. 🍞
Take a 1/2 Cup of your starter and put in the bread maker pan; add 3/4 Cup warm water and 1 Tablespoon of oil. Then add 1 1/2 Cups of flour covering all fluid evenly and sprinkle 1 Teaspoon of salt. Top with another 1 1/2 Cups of flour. Make a little shallow hole in the top of the flour and add 1 1/2 Teaspoons of dry yeast and sprinkle 2 Teaspoons of sugar over the top to help feed it.
Turn your bread maker on the dough setting and let it go. It will do its thing and buzz you when it is done. Mine does a small knead at the end to punch it down and then I immediately flour my hands and remove the dough from the pan; working quickly at this point.

Pull the dough out and work quickly to form your rounds…
This recipe makes a 1 1/2 pound loaf which I usually divide and shape into 2-3 rounds and lay them on greased sheet pans. Take a small bowl and beat one egg and give the bread a gentle egg wash all over. Cover with a clean kitchen towel and let them rise for 45-60 minutes in a warm spot. Leave them room to expand for rising and cooking (which means more than one pan people).
NOW WE COOK!
So you preheated your oven to 350 degrees. Gently place your sheet pans in the middle of the oven for even heating all around. Pull up a chair and watch the magic happen!

Put the bread in the oven and pull up a chair to watch the magic happen…
Depending on your oven it should take around 30 minutes to get that nice golden brown cracked crusty look that you want. Pull it out an touch the tops to make sure they feel crusty. Cool on wire racks to let them rest. If you’re like me, you’ll want that butter pot out so you can cut a nice slice and slather it with butter for a first taste.
You did it! Congrats! This bread will freeze nicely if you don’t get to it all (we never have that problem). Otherwise, just store like you would any bread. Be aware that without preservatives it has a short shelf life if you don’t put it in the fridge.

Simply put, I just might COULD live on bread alone…just sayin’
CARE FOR YOUR STARTER
Yes there is care involved in upkeep for your starter. Some people have been feeding and making bread from their starter for 30 years or more. The older it gets the better it tastes.
So going back, you took 1/2 Cup of the starter out to make the bread. Whenever you do that, you will replace it with equal amounts of flour and warm water (1/2 cup of each in this case) and stir. Let it sit in a warm place for 12 hours and let the yeast bubble and grow again. Then you put it in your cute little airtight container jar and store it in the fridge. You will do this any time you remove starter to bake with and return the container to the fridge.
A starter can be kept indefinitely-just stir and feed it every week or two. Stirring, removing and replenishing your starter serves to feed the remaining batter. Hey, you can now make sourdough bread all on your own! Pro tip: try not to bake bread on wet days. It just never turns out well for me.
CONCLUSION
Do you feel like you got it and learned something of value today? Something that will not only give you pleasure but will also feed you and some of your friends and family too? Because you know you gotta share the love! I also want to share another great blog that I think you will like if you are the baking type and that is Striped Spatula by Amanda Biddle.
You might also enjoy reading other blogs under Edible Fare and hey, don’t be a stranger! Let me know how it turned out for ya and what else you might want to learn how to make OK? Until next time…
Cheers,
ArtsyChowRoamer
Follow me on You Tube, Facebook, Pinterest, Instagram & Twitter
TO MY READERS: This post was updated with more pics, information and videos to upgrade content on 4/2/2020

Food
If you like what you read, click on the button below!
Why? You’ll get a recipe for duck bacon which will impress anyone you serve it to plus other great stuff I promise you’ll want!